IOS 使用 Google Map
安裝 Google Map SDK
先在專案目錄下建立Podfile檔案,在裡面填入
1 | source 'https://github.com/CocoaPods/Specs.git' |
存擋後在專案目錄下指令pod install
安裝完之後會出現專案名稱.xcworkspace檔案
點擊此檔案來打開 XCode
取得 Google Map API Key
進入此網址
1 | https://console.developers.google.com/flows/enableapi?apiid=maps_ios_backend&reusekey=true |
選擇建立專案->繼續->Maps SDK for iOS->取得 API 金鑰 1
1 | 金鑰 XXXXXXXXXXXXXXXXXXX |
在金鑰設定中選擇 IOS 應用程式
1 | 應用程式限制 |
設定 XCode
在AppDelegate.swift中最上面輸入
1 | import GoogleMaps |
在application(_:didFinishLaunchingWithOptions:)中輸入
1 | GMSServices.provideAPIKey("YOUR_API_KEY") |
加入地圖
將以下程式碼貼上ViewController.swift在執行模擬器
1 | import UIKit |
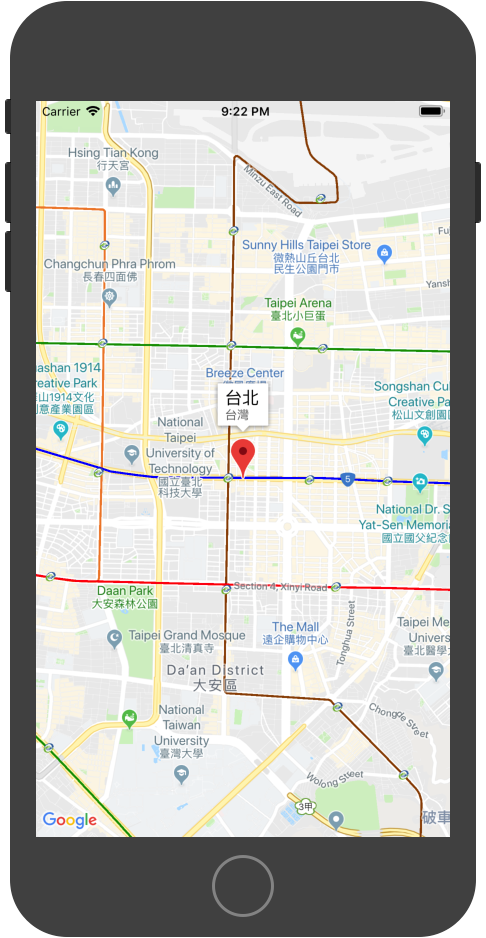
如果看到下圖表示成功